

Undergraduate programs
Music
Undergrad major Undergrad minor Teacher licenseWhether you want a music career in teaching, performing or another music-related profession, a broad music education at UW-La Crosse is a great first step.
Areas of study
Education: Choral & General Music Education Emphasis
Completion of the music education: choral and general music emphasis program and associated benchmark assessments will lead to endorsement for a Wisconsin teaching license in music for grades K-12 (2500). Students in all teacher education programs must satisfy the School of Education (SOE) core requirements.
Undergrad major Teacher license View a sample plan for Education: Choral & General Music Education Catalogfor Education: Choral & General Music EducationEducation: Instrumental & General Music Education Emphasis
Completion of the music education: instrumental and general music emphasis program and associated benchmark assessments will lead to endorsement for a Wisconsin teaching license in music for grades K-12 (2500). Students in all teacher education programs must satisfy the School of Education (SOE) core requirements.
Undergrad major Teacher license View a sample plan for Education: Instrumental & General Music Education Catalogfor Education: Instrumental & General Music EducationJazz Performance Emphasis
UW-La Crosse has an outstanding jazz program with performance opportunities for all in large and small ensembles. While the music major core includes lessons, music theory and music history, the jazz performance emphasis offers coursework in jazz improvisation, jazz combos, advanced jazz orchestra (big band) and the jazz performance recital, which includes you creating your own arrangements for your combo.
Undergrad major View a sample plan for Jazz Performance Catalogfor Jazz PerformancePerformance Emphasis
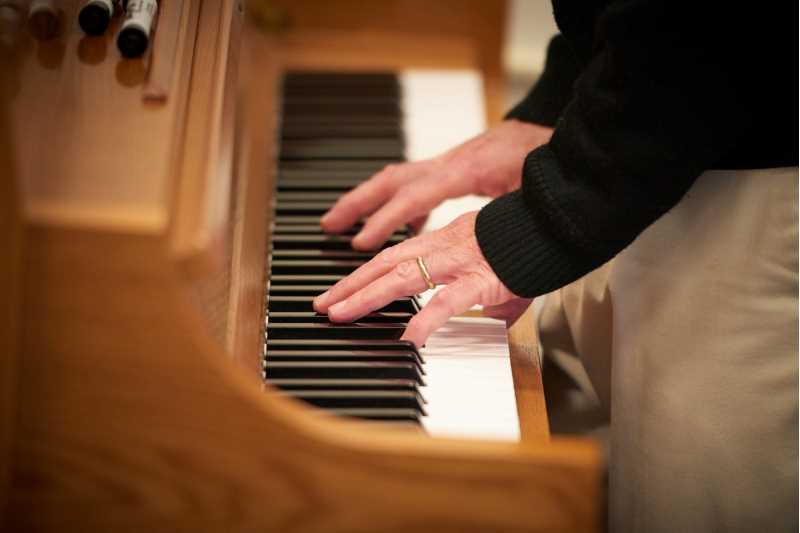
Students select this emphasis when they wish to excel in a single area of performance, such as violin, piano or trumpet. Core studies include music theory and music history, along with refining their solo performance musicianship in lessons for at least six semesters, culminating in a performance recital completed as a capstone project near the end of their studies. This emphasis has six elective credits that also allow a student to pursue opportunities to dive deeper into theory, accompanying, chamber music, additional lessons and advanced ensemble participation.
Undergrad major View a sample plan for Performance Catalogfor PerformanceComposition and Creation
Undergrad major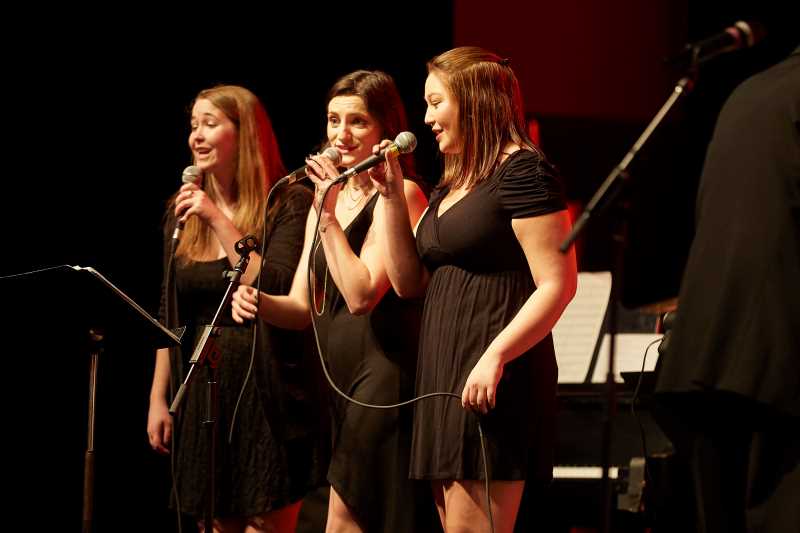
Music Performance
Undergrad minorEnjoy learning about music and performing with groups and ensembles without the academic requirements of a music major or minor.
Featured courses
View all coursesGet assistance
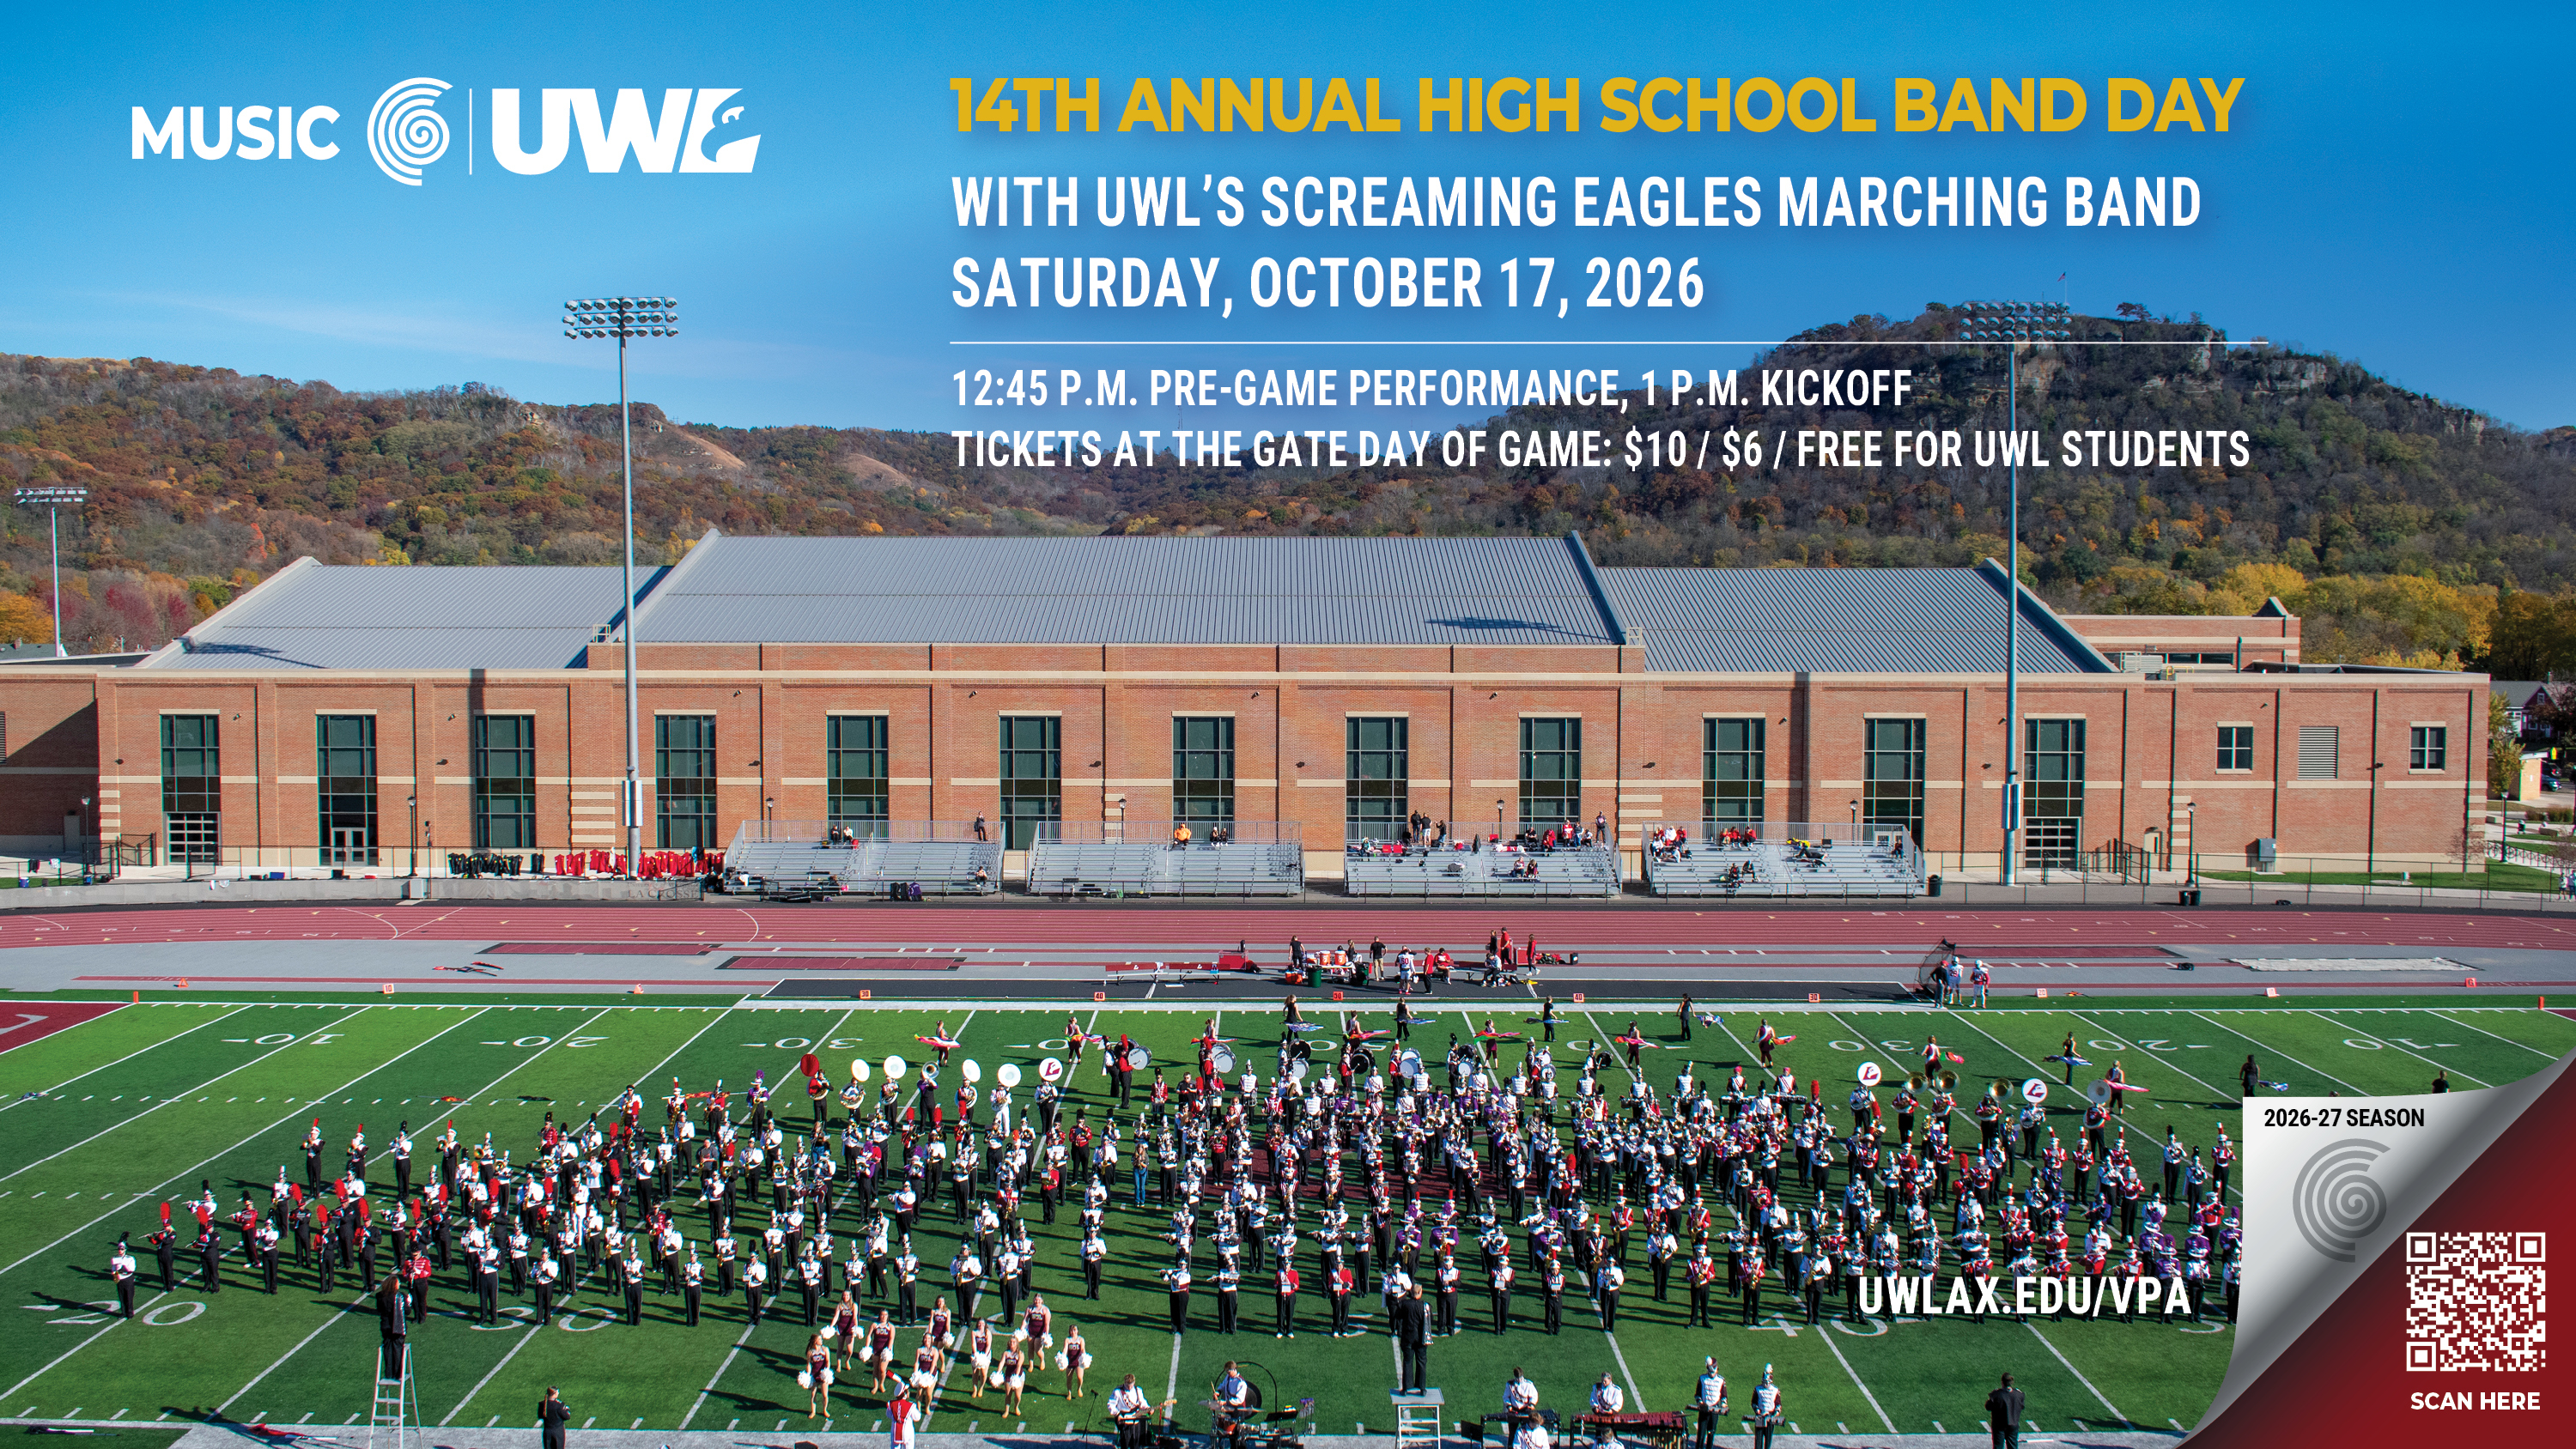
Featured event
Latest news


Upcoming Academic Calendar dates

Hear from an alum
Amber Englebert
UWL ensembles are small enough that you really get to know your fellow members. I can honestly say that whether or not the students are music majors, they all have a passion for making great music. Plus, they’re really fun to be around!

Hear from an alum
Anton Lenertz
Being a part of the Music Department at UWL was amazing. All the ensembles encourage students to get involved and enrolled, even non-music majors. Part of the reason why I love it so much is because we get a great variety of students from multiple departments across campus.

Hear from an alum
Caitlin Krueger
The Music Department at UWL is great because its size allows for close interaction between professors and students. The professors care about not only our musical success, but success in all aspects of our lives.

Hear from an alum
John Paul Peckham
I chose to study piano performance at UWL because of the great professors I met at my audition. The individual attention I’ve received is beyond what I thought possible! There are so many ensembles to join, and the best part has been meeting great musicians that I now call friends.